-40%
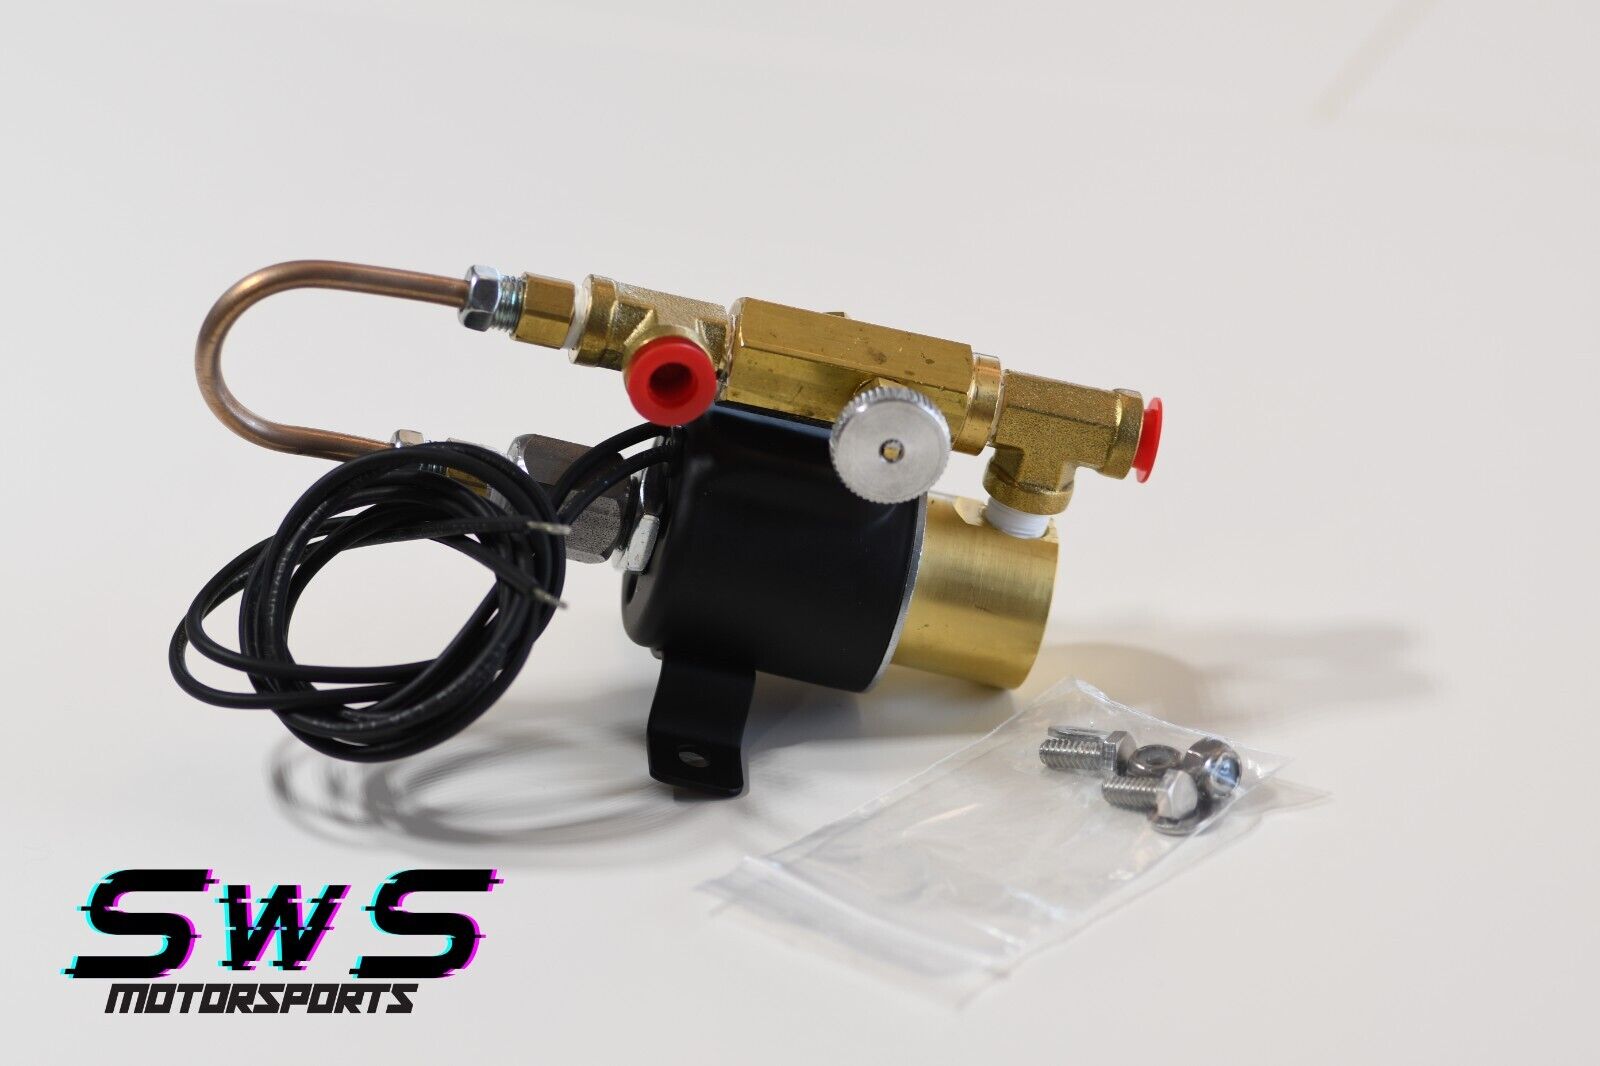
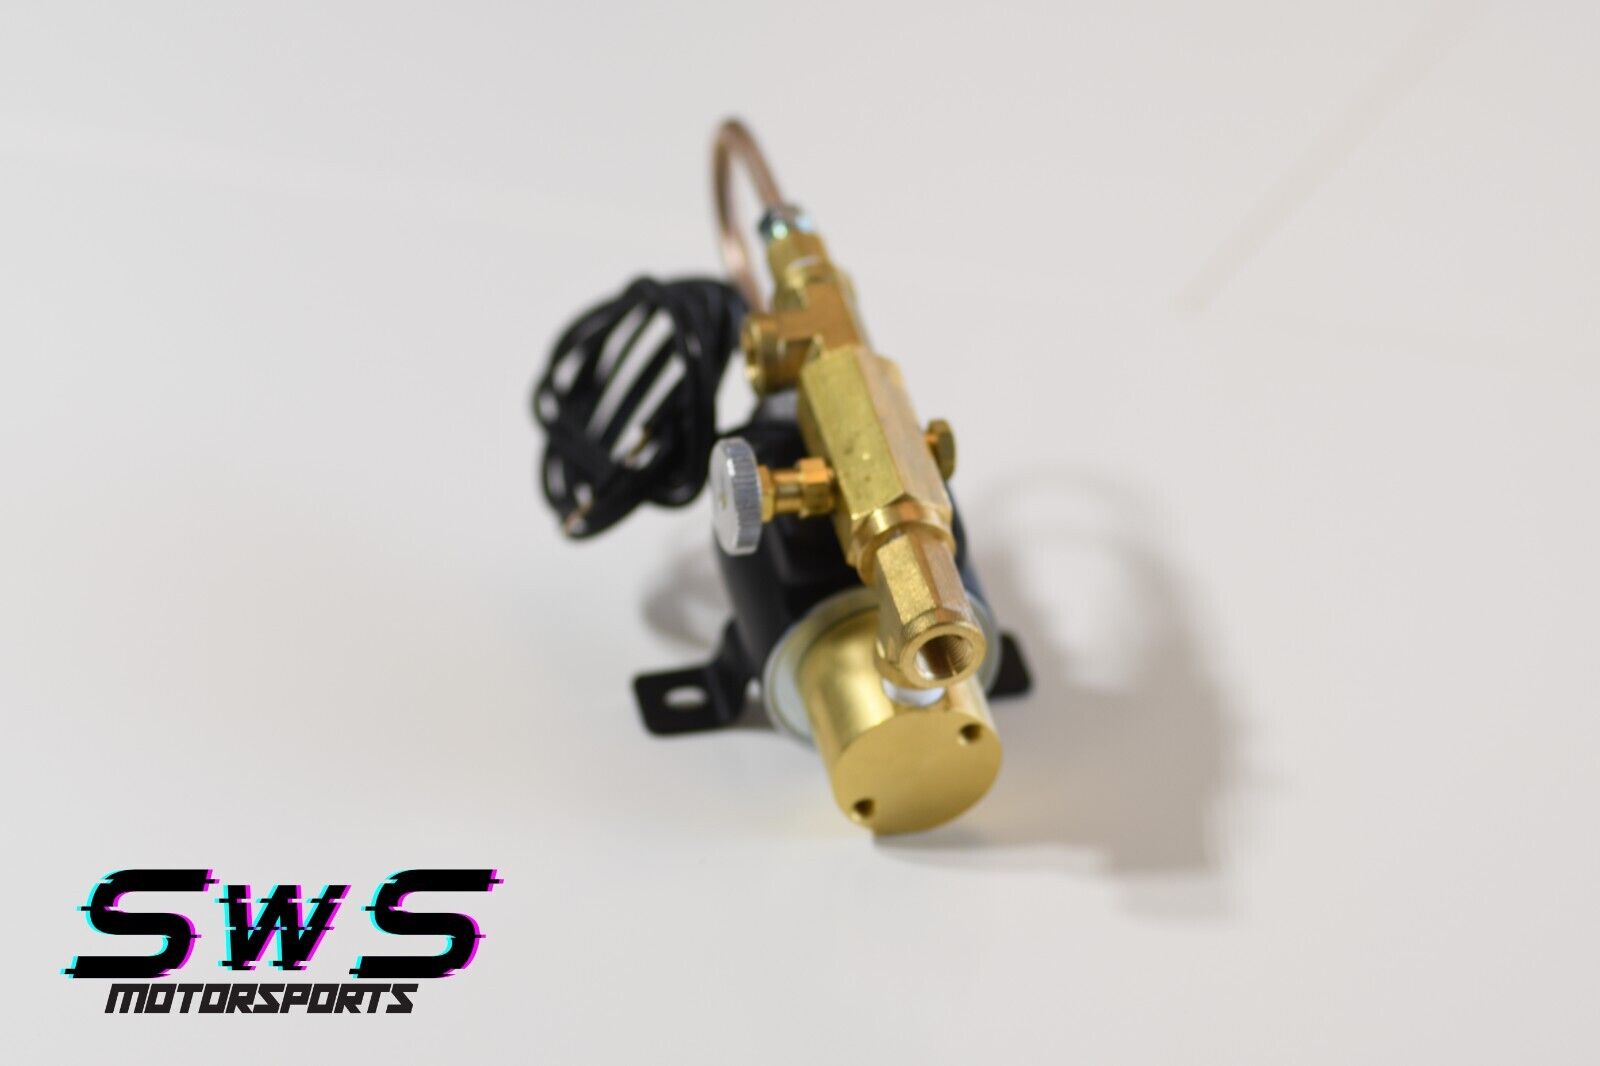
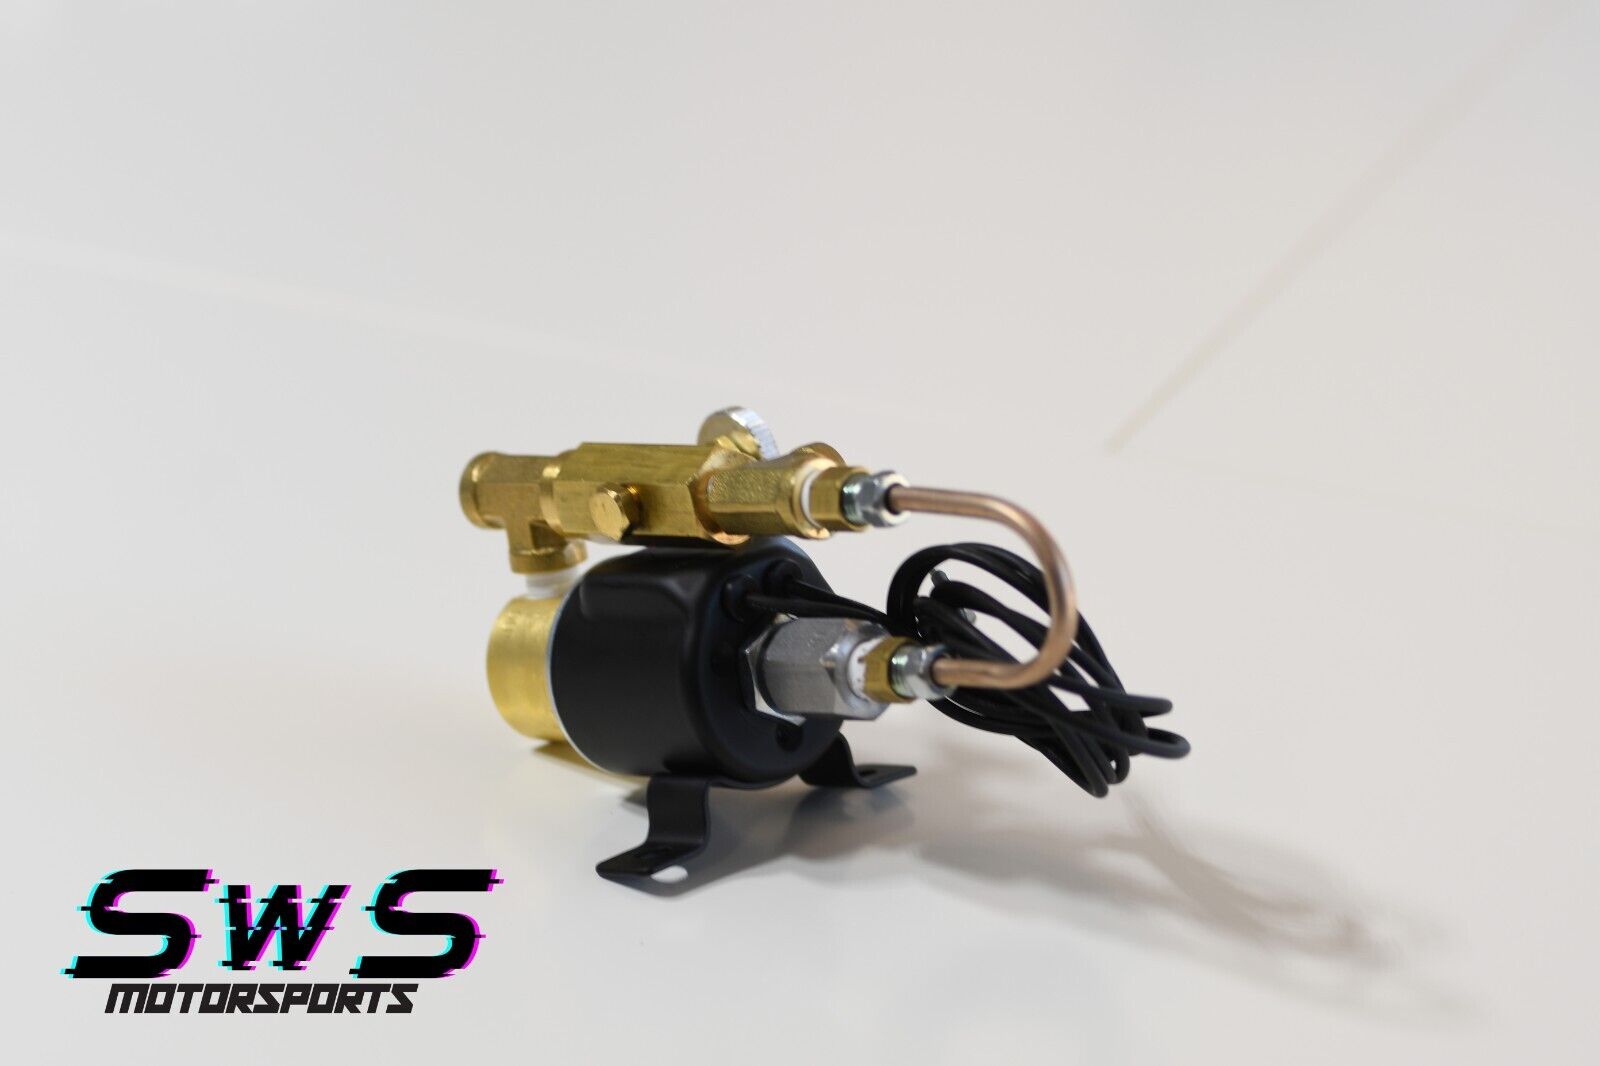
Hydraulic launch control clutch slipper solenoid valve manual transmission SWS
$ 88.96
- Description
- Size Guide
Description
SWS MotorsportsLaunch Control Solenoid: Achieve Consistent Performance
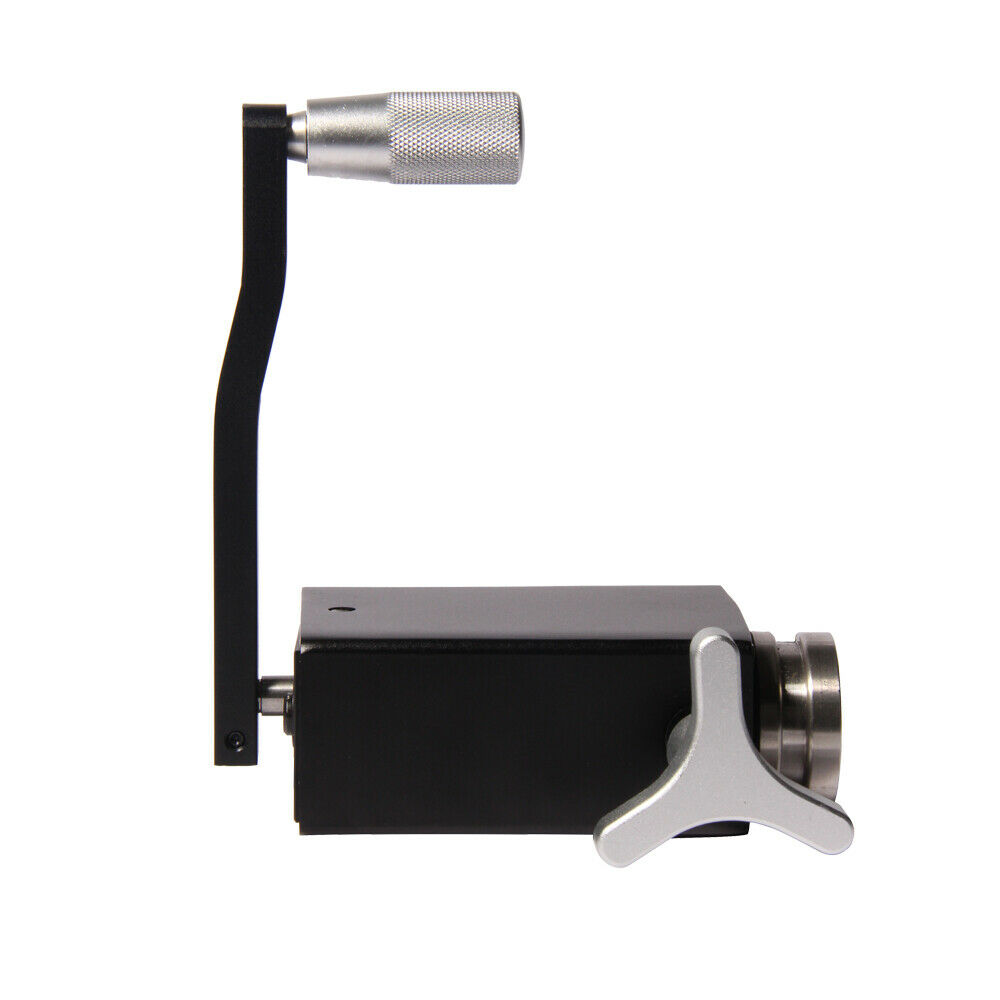
The SWS Motorsports launch control solenoid allows adjustable clutch engagement during launch for more consistent 60-foot times and improved reaction times. This also provides peace of mind that allows a much smoother clutch engagement, preventing drive train shock-loading that can often occur when dumping the clutch on a launch, particularly with upgraded, higher clamping load clutches. The SWS Motorsports launch control solenoid is the most compact and economical electronic launch control device on the market. The launch control solenoid is plumbed between the clutch master cylinder and the clutch slave cylinder. The fittings are 1/8 NPT and can be used with Either AN fittings or traditional hard line.
Discover Our
Full Range of Performance Products
SWS Motorsports offers the most compact and economical electronic launch control devices on the market, from
clutch slipper valves
to
Forced induction.
Proper Initial Adjustment Guide
The solenoid (12v) must be controlled via a relay if being activated by a PCM/standalone ECU.
Power draw can exceed 3A and should be fused with a 5A fuse.
An ignition-switched power source is recommended if no PCM is used.
Manual engagement of the solenoid during the launch is also viable.
Pairing with a 2-step, or RPM limiting launch control will yield the most consistent results.
Bleeding should be done with the solenoid both energized and de-energized. Vacuum bleeding is recommended.
Technical Specifications
Inlet / Outlet Ports: 1/8-27 NPT
Pressure Rating: 2000 psi
Dimensions: 5.5" (L) x 2.25" (W) x 2.5" (H)
Weight: 1lb
Warranty: One-year manufacturer warranty
Feel free to
contact us
if you have any questions! Thank you for choosing SWS Motorsports.
width="560" height="315" src="https://www.youtube.com/embed/FS8RkSvjnMQ" title="YouTube video player" frameborder="0" allow="accelerometer; autoplay; clipboard-write; encrypted-media; gyroscope; picture-in-picture" allowfullscreen="">
Frequently Asked Questions (FAQ)
1. How do I set it up on an aftermarket/standalone ECU?
We recommend configuring it to a master power switch, set to "normally on," and programmed to deactivate above 30 mph using ECU tables.
2. How do I set it up if I have a stock ECU?
For Stock ECU Setup: We usually integrate a microswitch that activates only when the shifter is in 1st gear. As soon as you shift out of 1st gear, the Launch Control device disengages, and the clutch operates as normal.
3. My launch control device makes my clutch super hard and doesn’t seem to work properly.
Troubleshooting Launch Control: Ensure that the adjustment screw is not fully closed, as it won't function correctly in this state. Flush out any contaminants from the system and replace with new, clean fluid to ensure proper operation.
4. How do I get a good base adjustment?
Setting a Base Adjustment: Watch instructional videos to gauge the desired clutch release timeframe. Aim for approximately 0.2 to 0.3 seconds for a tight track or 0.4 to 0.6 seconds for street use. If the clutch slips excessively during testing, stop immediately to prevent unnecessary wear.
5. Will this wear out my clutch?
Impact on Clutch Wear: Yes, regular use will lead to wear and tear on the clutch, but it won't cause damage to other drivetrain components.
6. How do I “Stage”?
Staging Procedure: To stage effectively, locate the clutch engagement point and hold the clutch just before engagement or when it begins to drag slightly. Rev the engine to the desired launch RPM and activate the Launch Control device. When ready to launch, release the clutch fully to initiate the launch sequence. Being too far below or at the floor level of engagement can cause delays and affect reaction time. Aim to be precisely at the engagement point for optimal performance.
